

There is something magical about walking into a room and seeing a Christmas tree that looks like it belongs in a magazine. You do not need a professional decorator or a huge budget to get that look. You just need the right combination of colors, textures, and a few smart tricks that designers use every year.
In this guide, you will find 24 tree decorating ideas that turn an ordinary tree into the centerpiece of your whole home. Each idea is simple to follow and works for real homes, not just showrooms.
Why Your Tree Might Look Flat (And How To Fix It)
Most trees look plain because of one simple reason. The decorations are placed only on the surface. Designer trees have depth. Lights, ribbon, and ornaments go deep into the branches, not just on the tips. Keep this in mind as you go through every idea below.
Pick A Color Story Before You Touch A Single Ornament
The biggest difference between a designer tree and an average one is a clear color plan.
1. Choose Three Colors Maximum
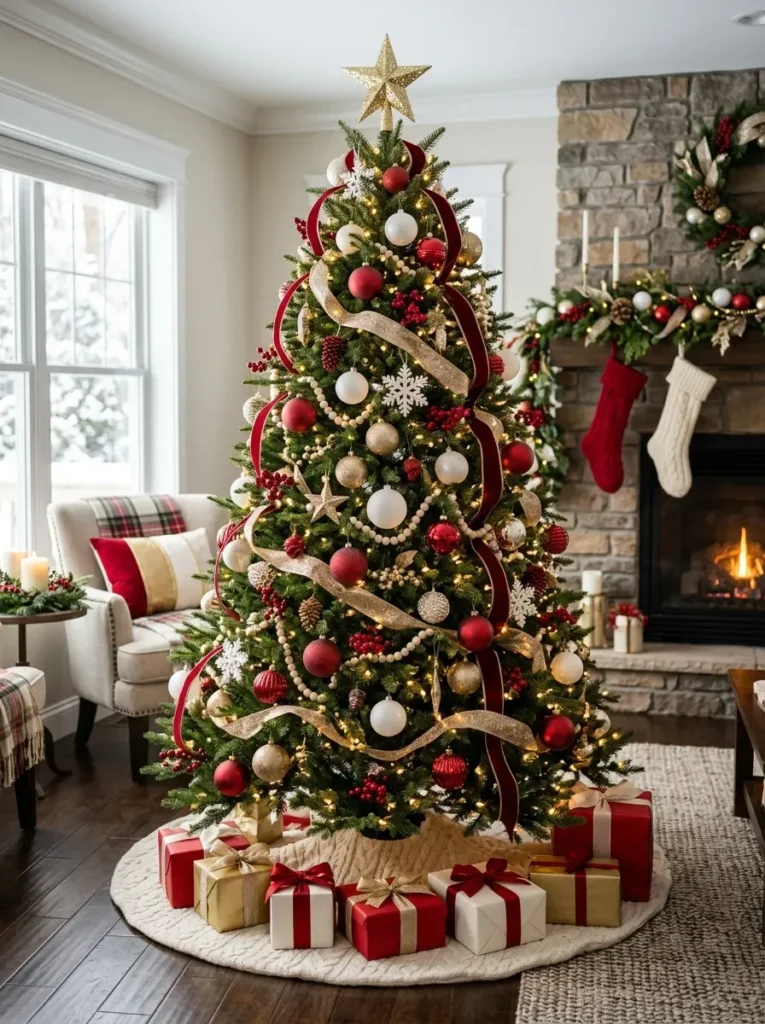
Pick one main color, one supporting color, and one metallic. For example, deep red, forest green, and gold. Too many colors fighting for attention makes a tree look cluttered instead of curated.
2. Go Monochrome For A Modern Look
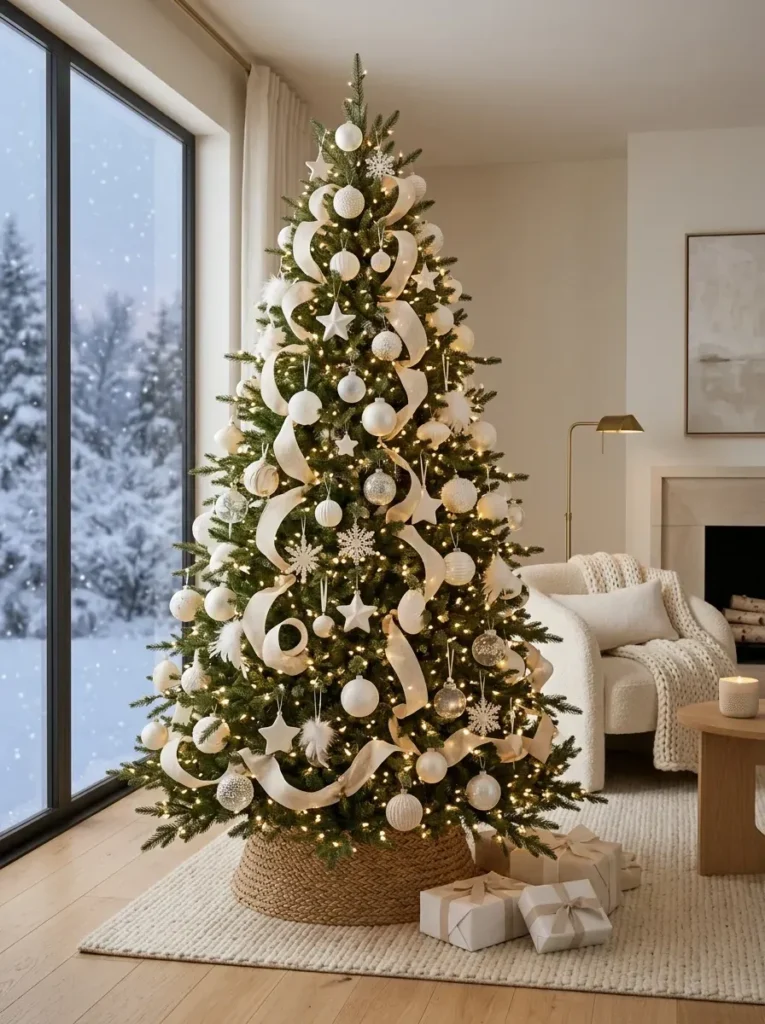
An all white tree, an all gold tree, or an all blue tree feels calm and expensive. This works especially well in smaller spaces where a busy tree can overwhelm the room.
3. Try A Two Tone Combination
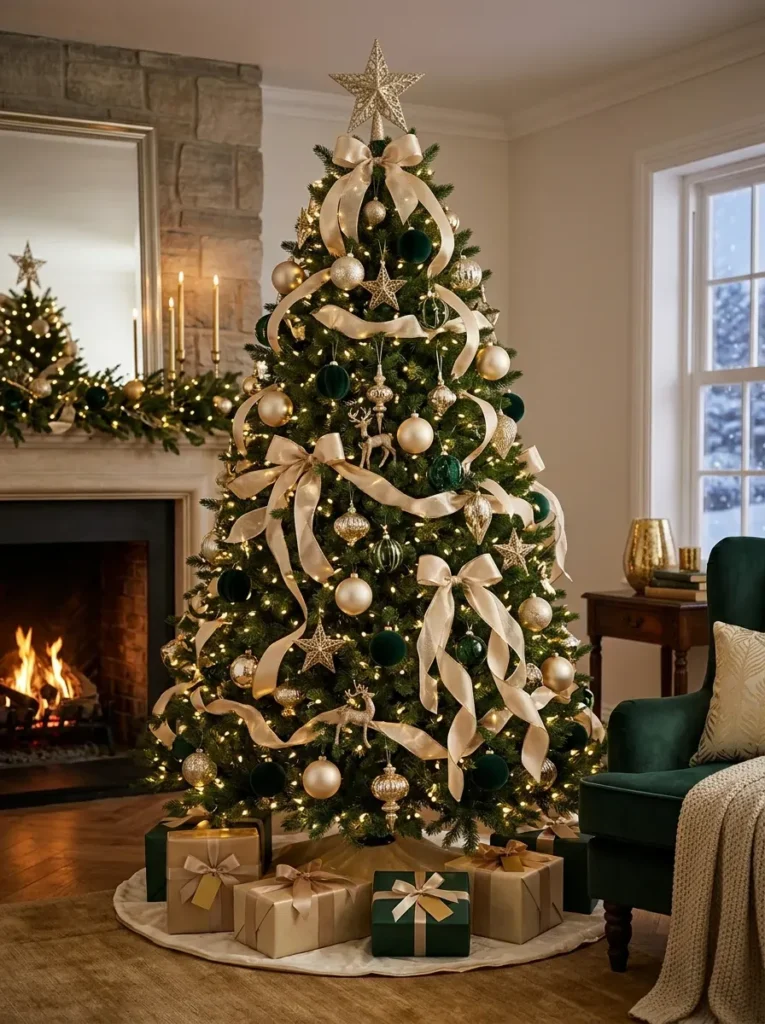
Pair an unexpected duo like blush pink and copper, or navy and silver. This feels fresh without straying too far from tradition.
Layer Your Lighting Like A Pro
4. Use Warm White Lights As Your Base
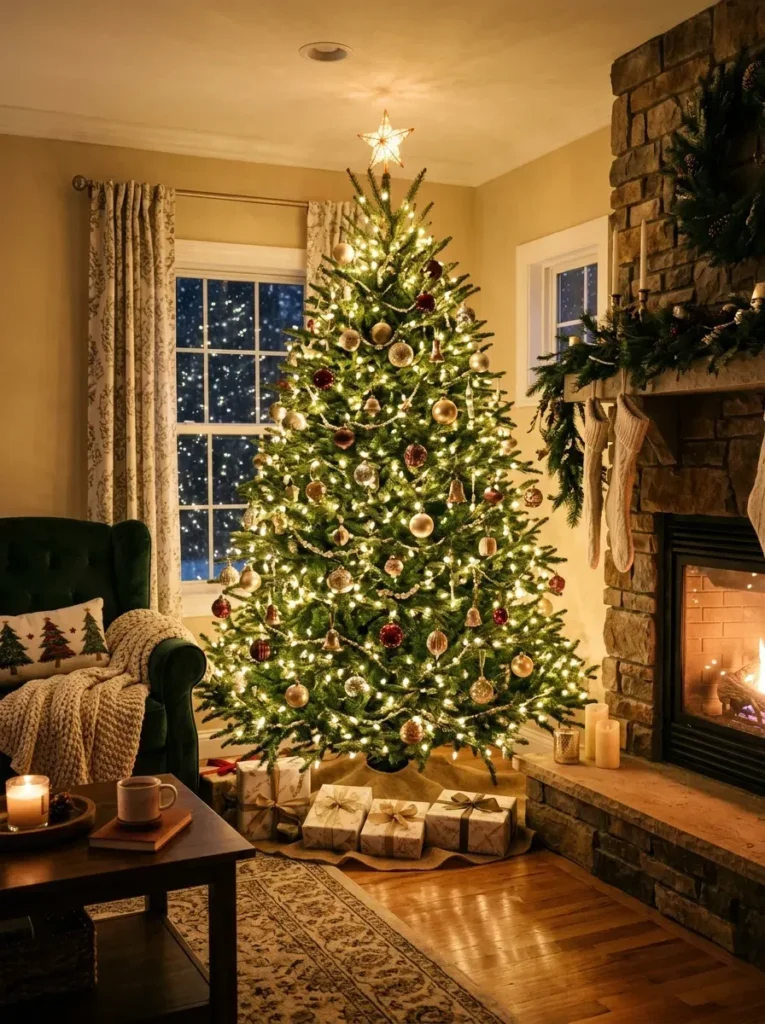
Warm white lights give a cozy glow that flatters almost every color scheme. Cool white lights can feel clinical and are harder to style around.
5. Add A Second Layer Of Lights
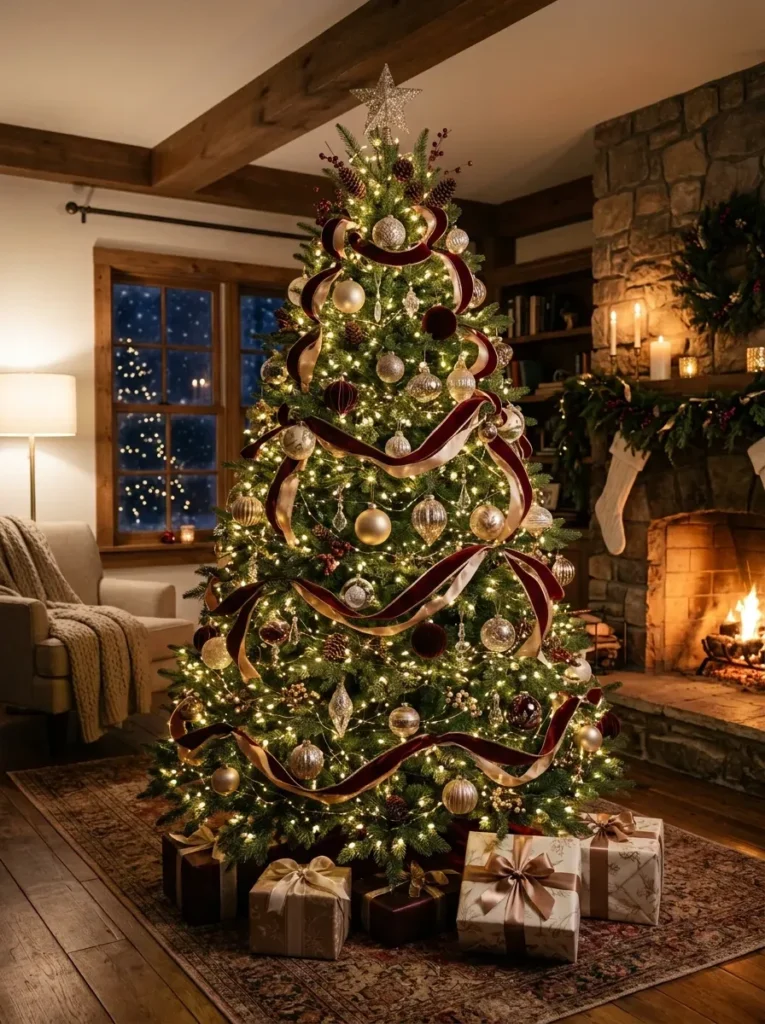
Wrap one strand for general glow and a second thinner strand woven closer to the trunk. This creates the glowing from within effect you see on high end trees.
6. Use Lighted Picks Or Branches
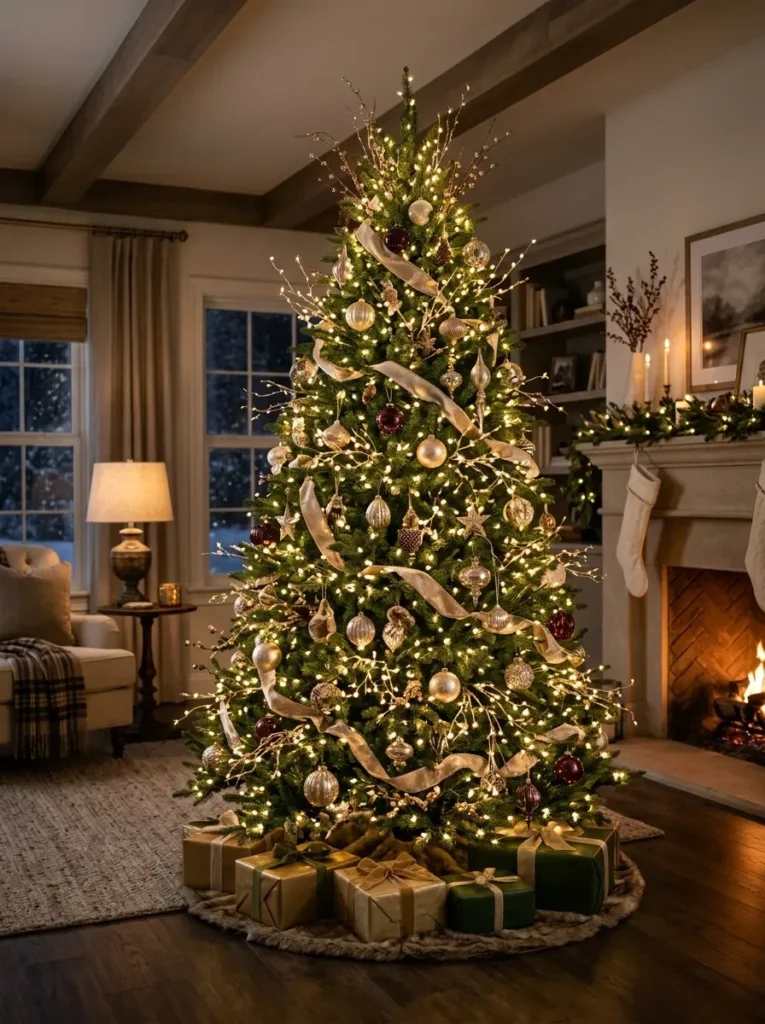
Small battery lit branches tucked between the real ones fill in gaps and add sparkle exactly where you need it.
Build Depth With Ribbon
7. Weave Ribbon Vertically Instead Of Wrapping It Around
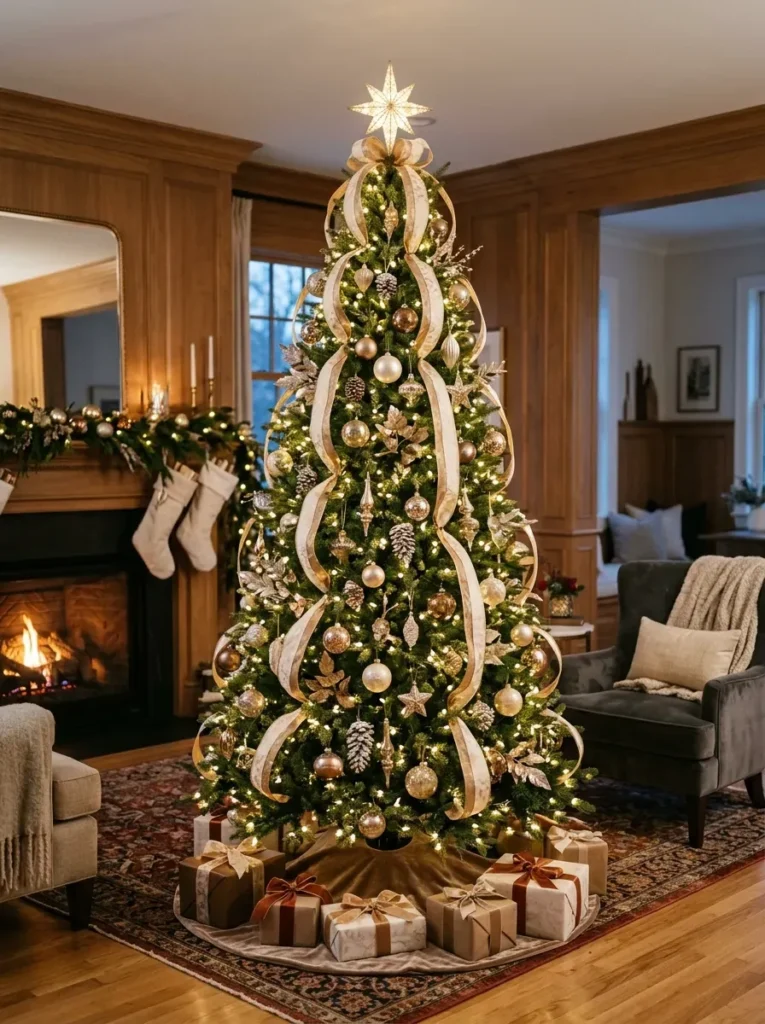
Instead of wrapping ribbon in circles, drape it in loose vertical lines from top to bottom. Push some sections into the tree so it looks like it is growing from within the branches.
8. Mix Ribbon Widths
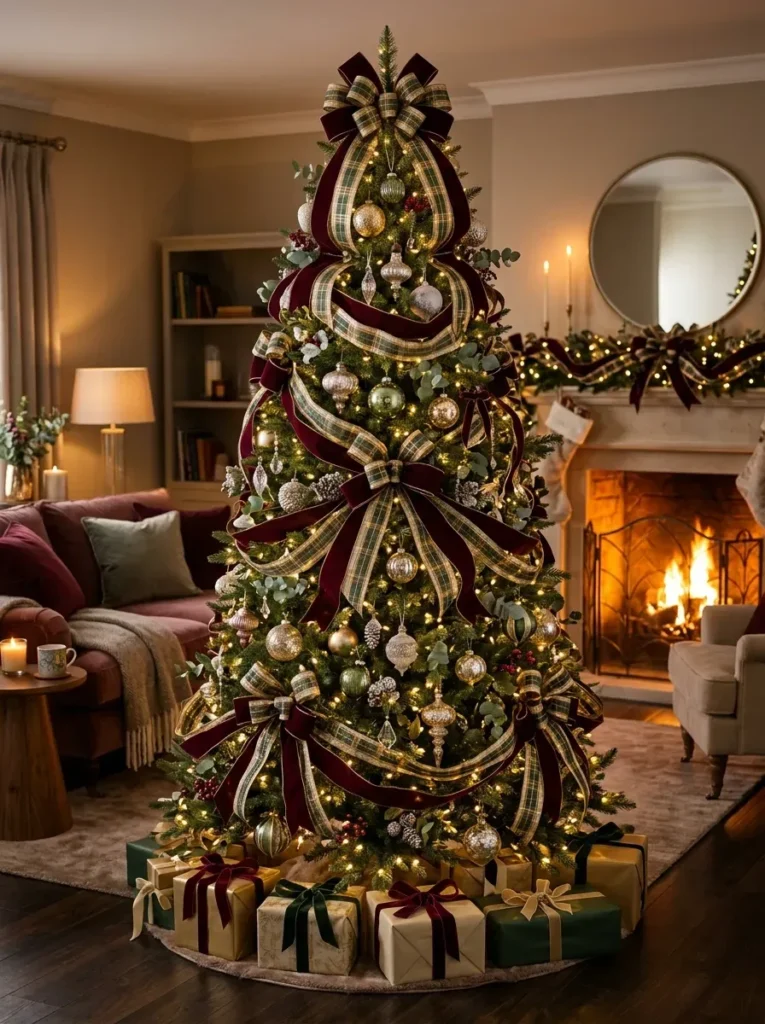
Combine a wide velvet ribbon with a thin wired one. The contrast in texture adds richness without adding more colors.
9. Use Mesh Ribbon For Volume
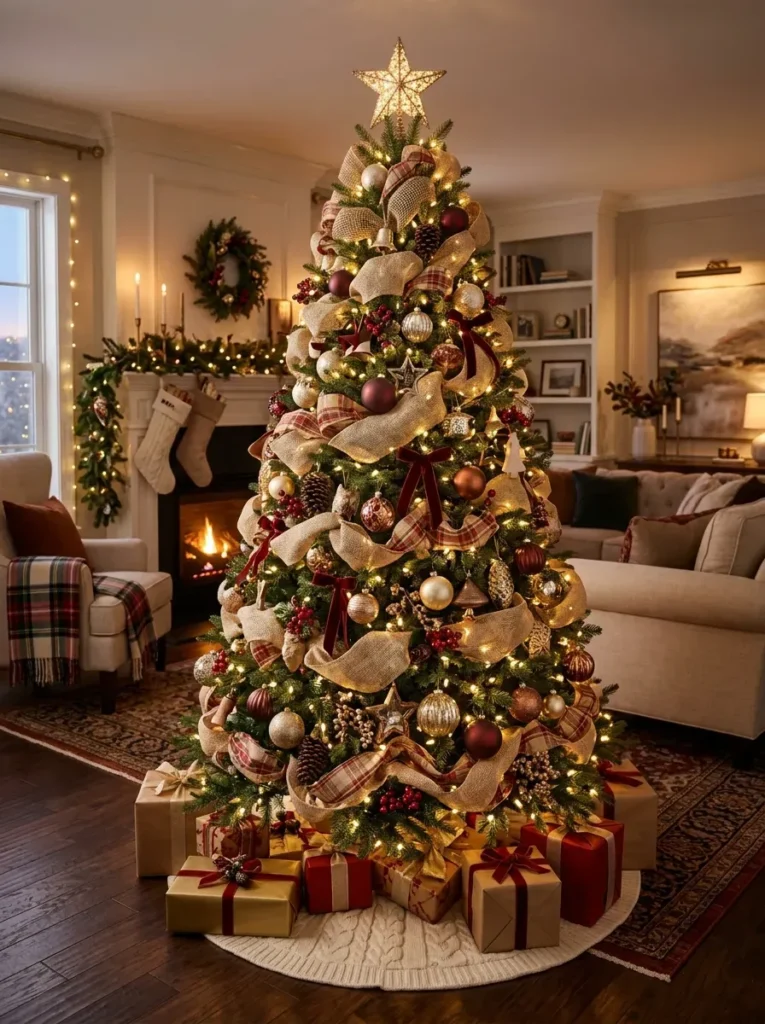
Mesh ribbon puffs out nicely and fills empty spaces fast, which is great if your tree has thin spots.
Final Thoughts
A designer looking tree comes down to planning, not spending. Pick your colors first, layer your lighting, build depth with ribbon and ornaments of different sizes, then finish with small details that most people skip. Follow these steps in order and your tree will look like it came straight out of a home decor catalog.
Frequently Asked Questions
How many ornaments do I need for a six foot tree?
Around 100 to 150 ornaments in mixed sizes is a good starting point for a full look on a six foot tree.
What ribbon length should I buy?
For a six to seven foot tree, plan on nine to twelve yards of ribbon so you have enough for vertical draping without running short.
Should lights go on before or after ornaments?
Lights always go on first, followed by ribbon, then large ornaments, then smaller ornaments and final touches.