

Easter is one of those holidays that brings out the creative side in almost everyone. There is something genuinely fun about sitting around a table with dye, paint, and a pile of plain eggs, turning them into little pieces of art. If you are looking for fresh ways to decorate your eggs this year, you are in the right place. Below you will find 25 ideas that range from simple and quick to detailed and impressive, so there is something for every skill level and every amount of free time you have.
Why Easter Egg Decorating Is Still So Popular
Egg decorating has been a part of spring celebrations for generations, and it is easy to see why it has stuck around. It is affordable, it works for kids and adults alike, and it gives you a fun activity that ends with something you can actually display. Whether you are hosting a family gathering or just want a relaxing weekend project, decorating eggs is a simple way to bring some color into your home.
What You Need Before You Start
Before jumping into the ideas, it helps to gather a few basics:
- Hard boiled or blown out eggs
- White vinegar and food coloring, or a store bought dye kit
- Small bowls or cups for dye
- Paint brushes, cotton swabs, or sponges
- Stickers, washi tape, or rubber bands for patterns
- Glitter, sequins, or small gems for extra sparkle
- Newspaper or a plastic tablecloth to protect your table
Once you have your supplies ready, you can move on to the fun part.
Simple and Quick Ideas
These first few ideas are great if you are short on time or decorating with young kids.
1. Classic Solid Colors
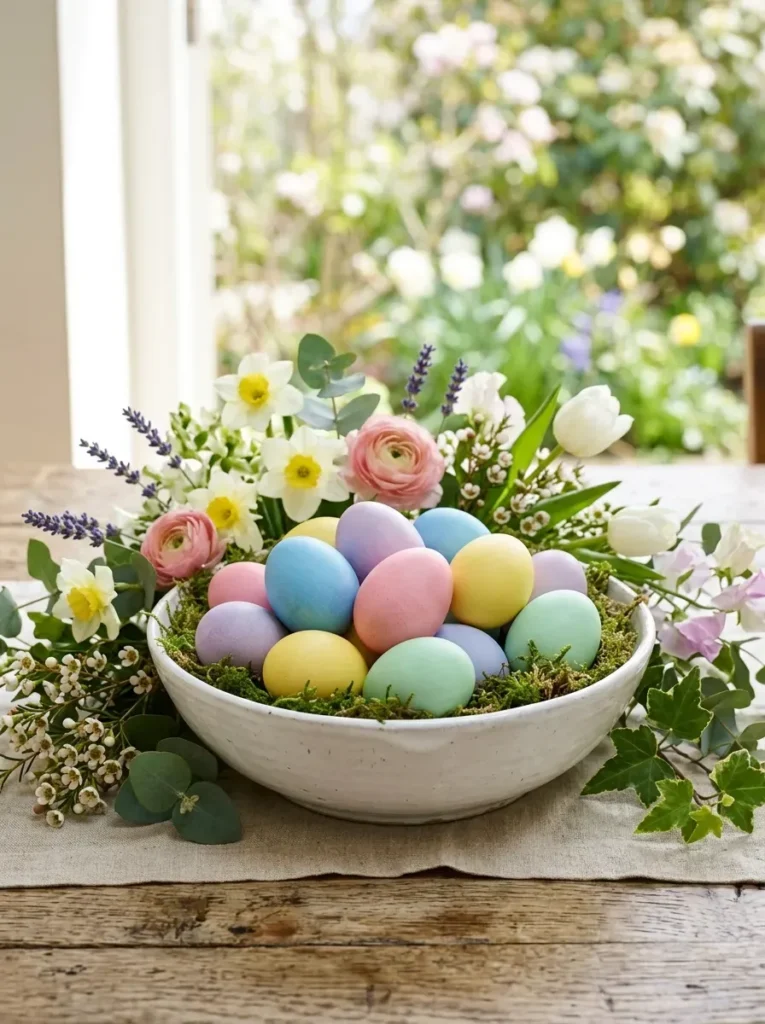
Sometimes the simplest option is the best one. Dip your eggs in single colors and let them dry completely before setting them out in a bowl. A mix of pastel shades still looks charming on any table.
2. Two Tone Ombre Eggs
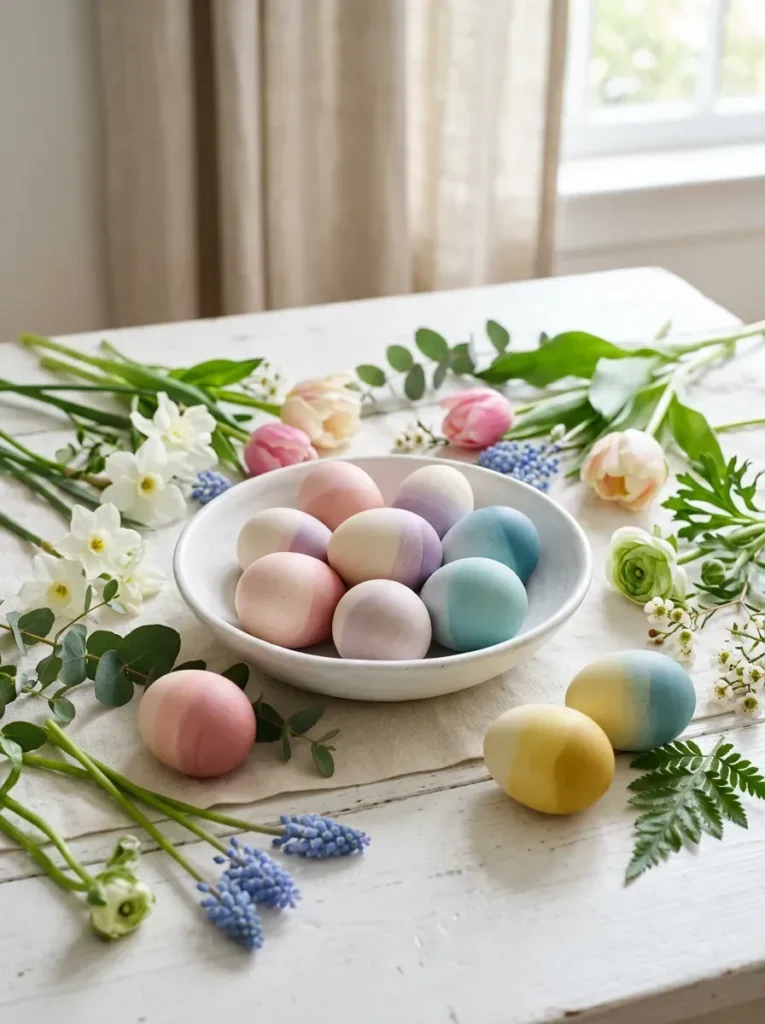
Dip half the egg in a lighter shade first, then dip the bottom half in a deeper version of the same color. This creates a soft gradient effect that looks much fancier than the effort it actually takes.
3. Polka Dot Eggs
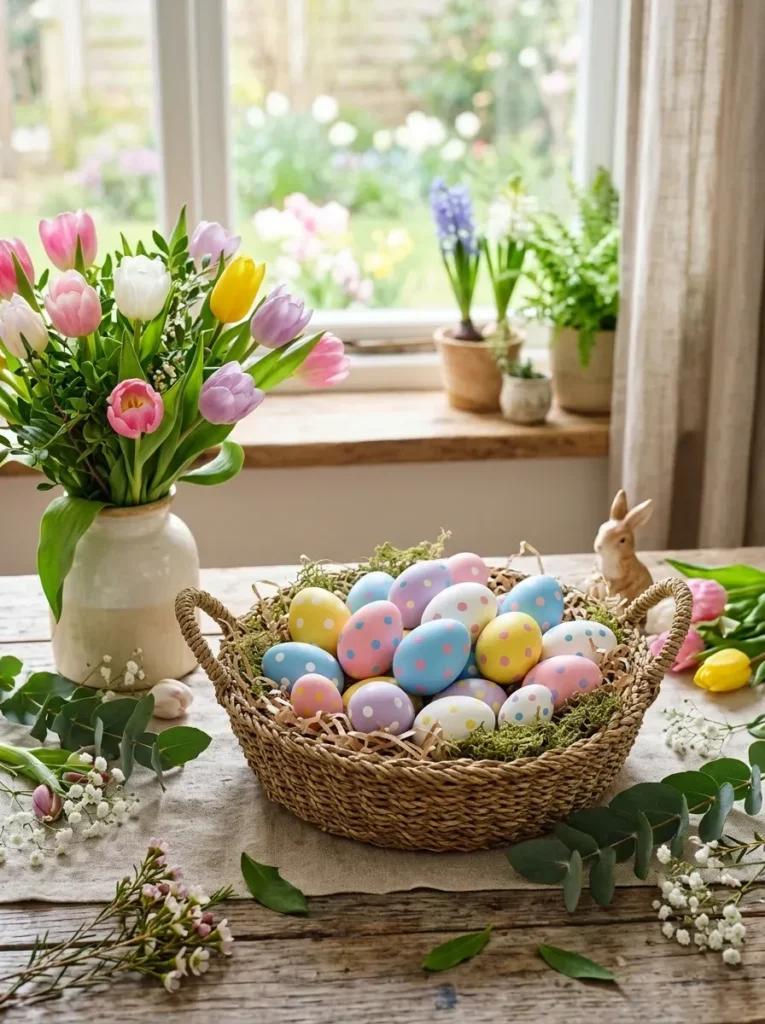
Use a small paintbrush or the end of a pencil dipped in paint to add dots across the surface of a dyed egg. Try mixing dot sizes for a playful, uneven pattern.
4. Striped Eggs With Rubber Bands
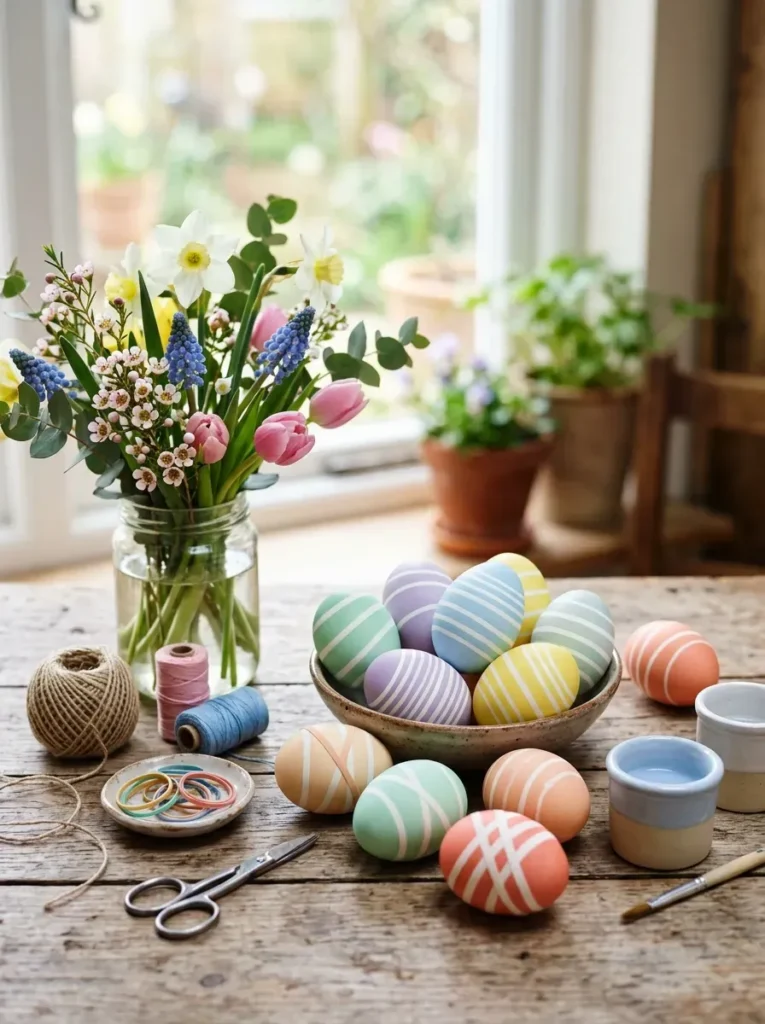
Wrap a few rubber bands around an egg before dipping it in dye. The bands will block the color and leave clean white stripes once removed.
5. Washi Tape Patterns
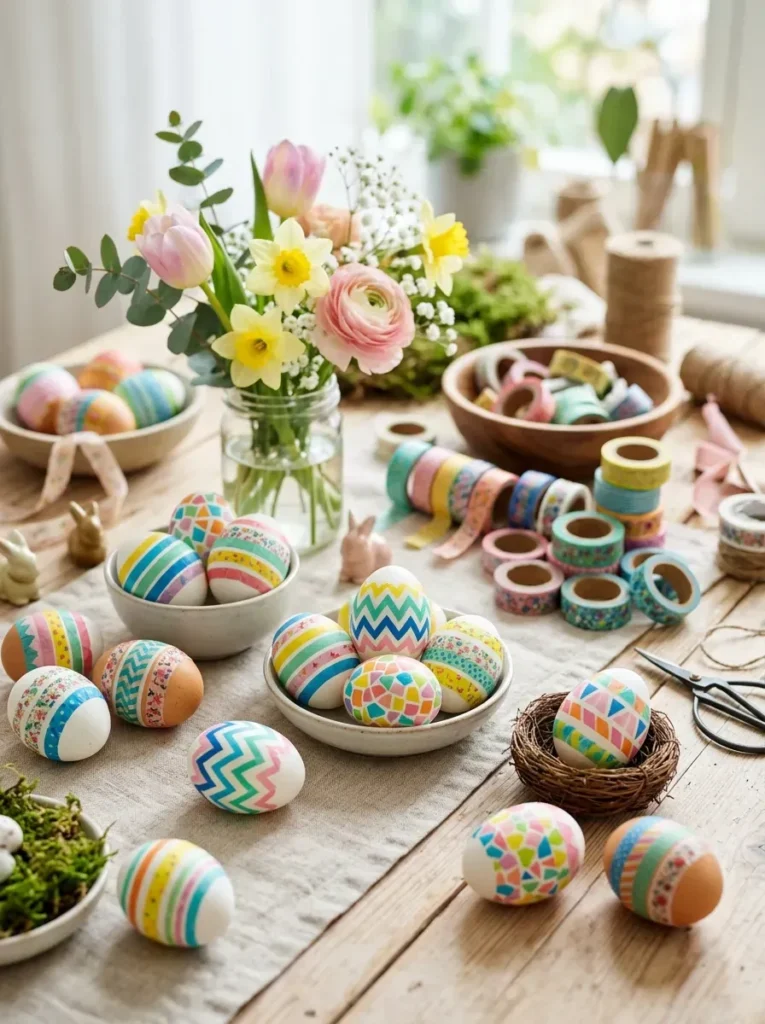
Wrap strips of washi tape around the egg in a pattern before dyeing, then peel it off once the egg is dry. You will be left with crisp lines and shapes in the original egg color.
Nature Inspired Ideas
If you enjoy bringing a little bit of the outdoors inside, these ideas are for you.
6. Pressed Flower Eggs
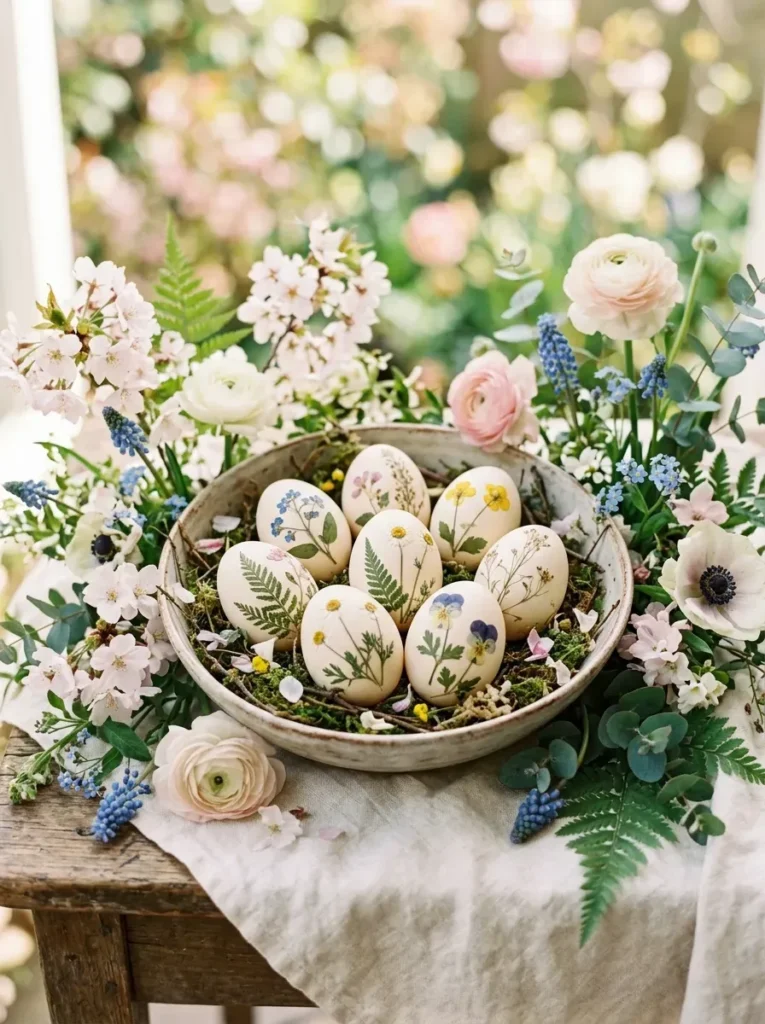
Place small flowers or leaves against a wet, dyed egg, then wrap it tightly in a piece of nylon stocking. Dip it again in dye and the plant will leave a delicate imprint once removed.
7. Marbled Eggs
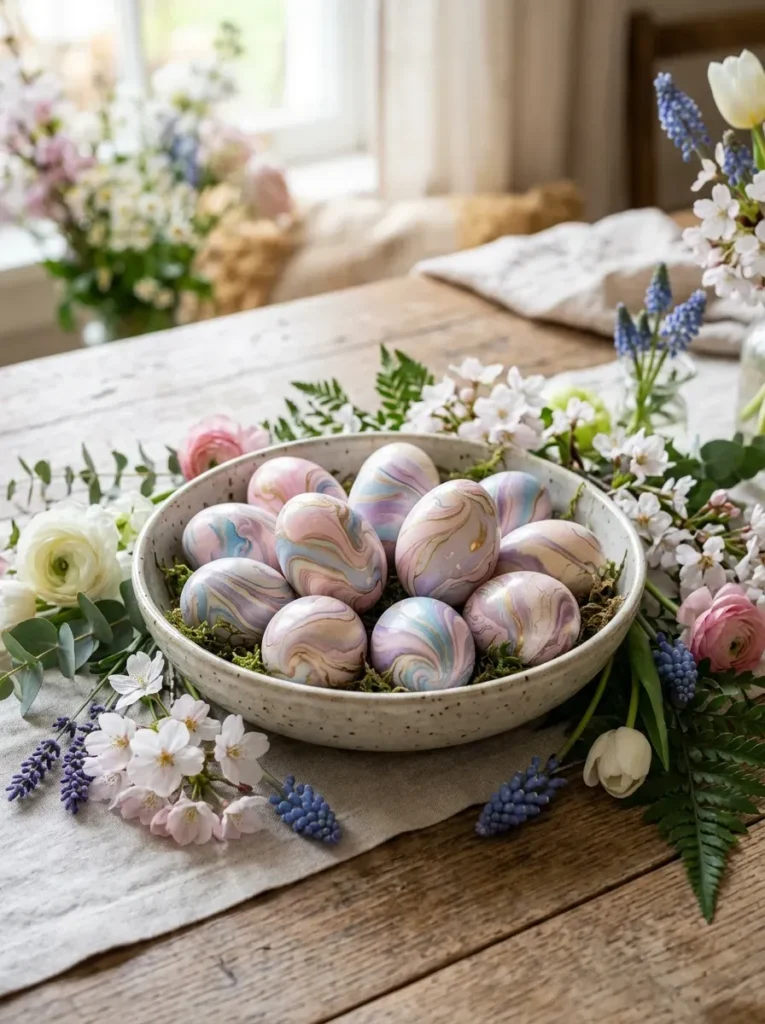
Swirl a few drops of oil based food coloring into a cup of water, then roll the egg through it. The colors will create a marbled pattern that looks different on every single egg.
8. Speckled Eggs
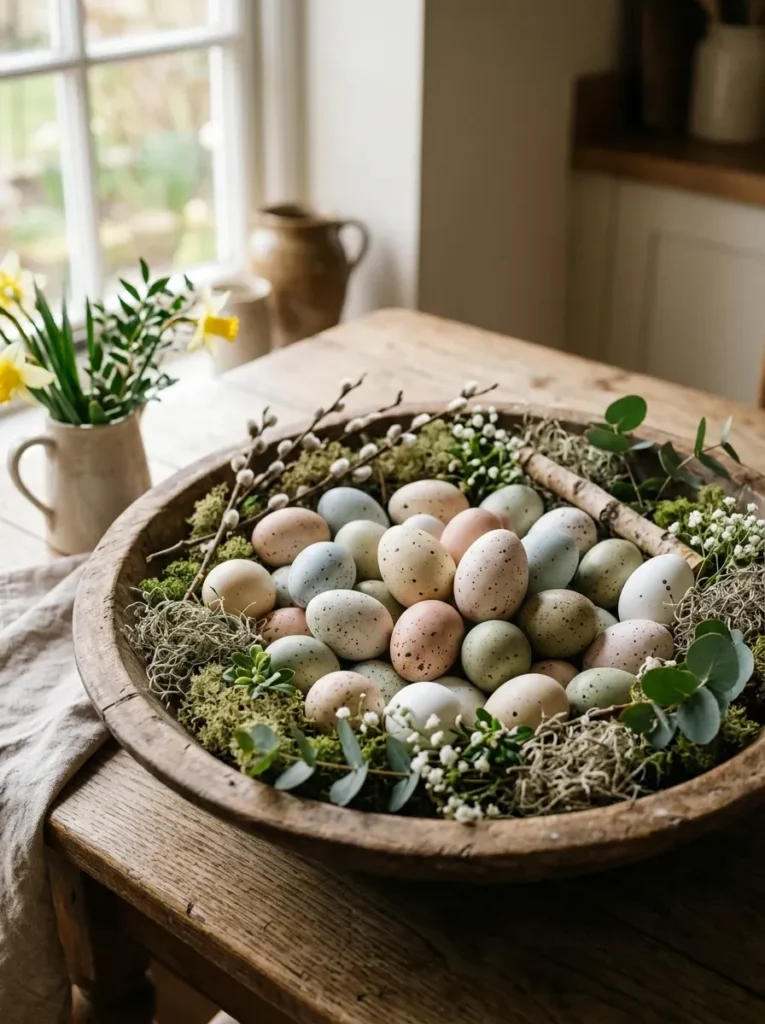
Dip a toothbrush in a bit of watered down paint and flick the bristles over your dyed egg. This gives it a natural, speckled bird egg look that is surprisingly realistic.
9. Moss and Twine Wrapped Eggs
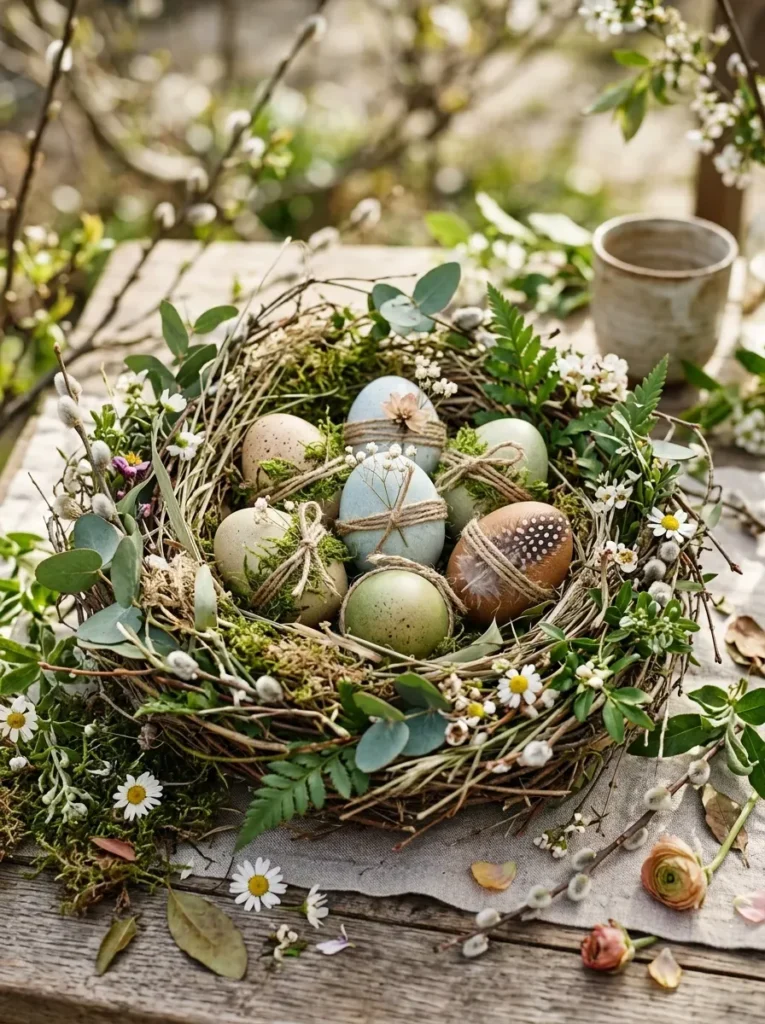
Wrap a bit of natural twine around the egg and tuck in small pieces of dried moss. This gives your eggs a rustic, garden inspired feel that pairs nicely with spring centerpieces.
10. Leaf Silhouette Eggs
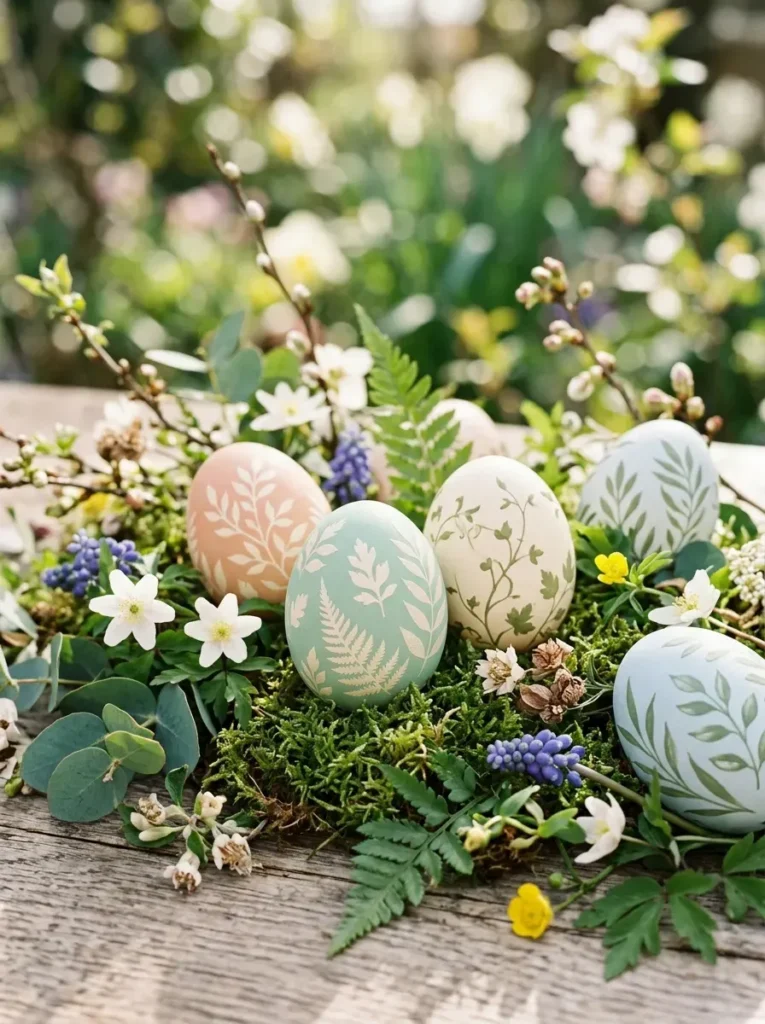
Press a small leaf onto the egg and secure it with a rubber band before dyeing. Once removed, you will see a clean silhouette left behind in white against the colored background.
Painted and Artistic Ideas
For those who enjoy getting a bit more hands on, painting opens up endless possibilities.
11. Watercolor Style Eggs
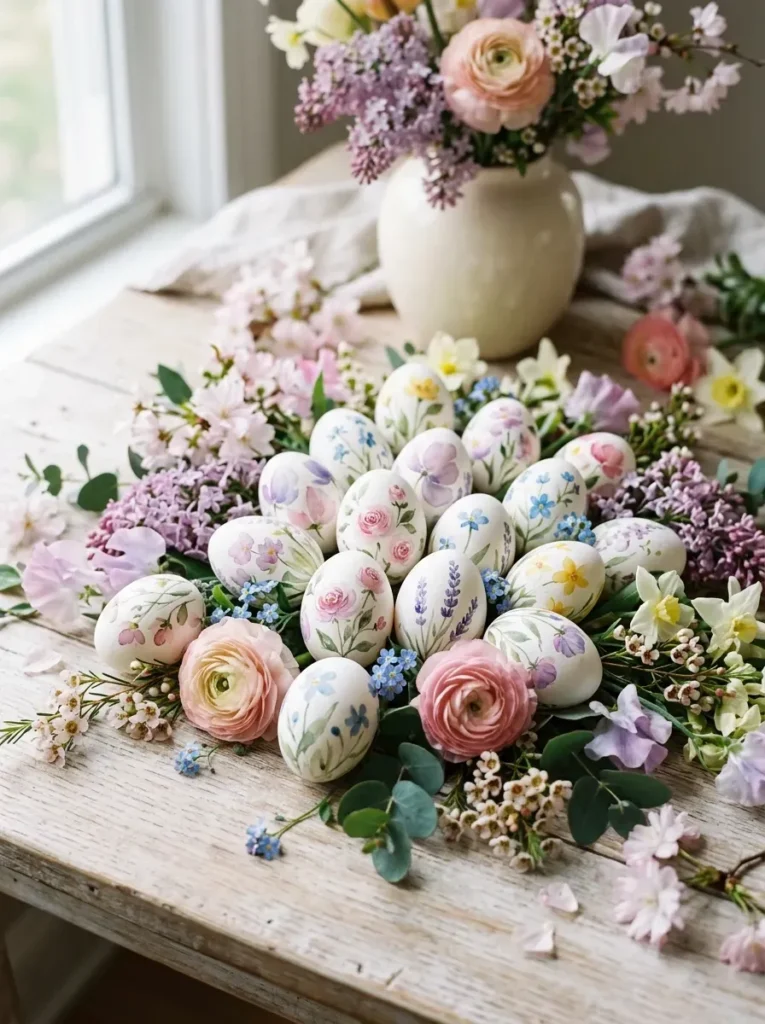
Use a wet brush and diluted paint to blend colors directly onto the shell. The soft transitions look just like a small watercolor painting.
12. Geometric Pattern Eggs
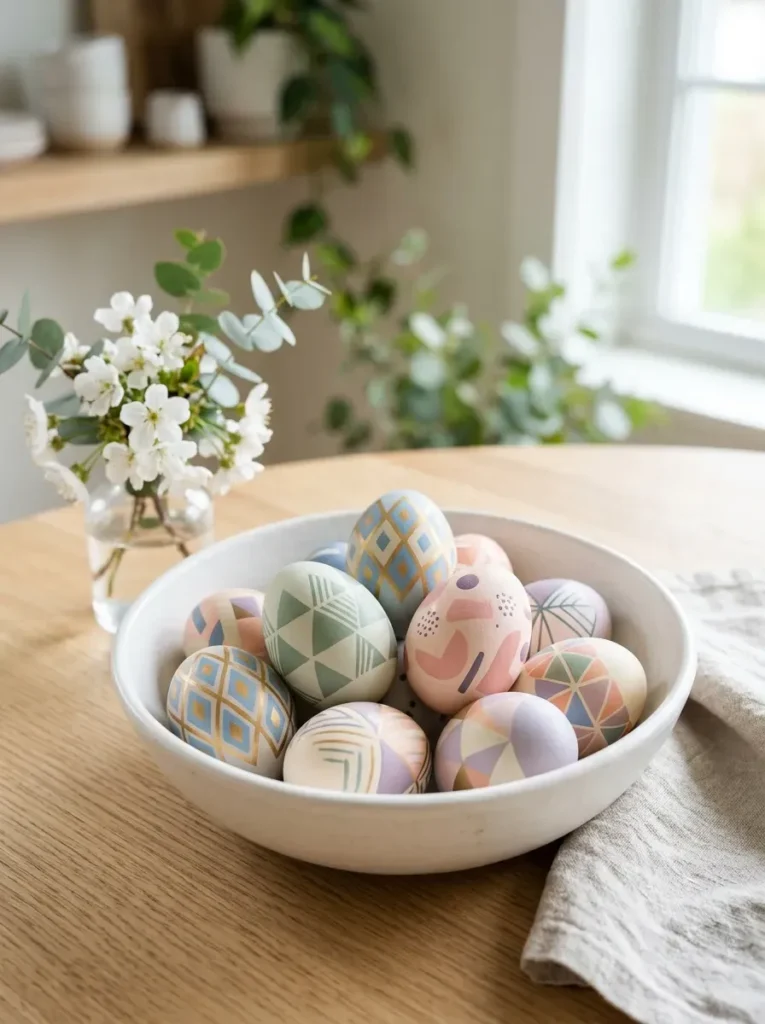
Use painter’s tape to section off triangles or stripes, paint each section a different color, then peel the tape away for crisp geometric shapes.
13. Gold Leaf Accented Eggs
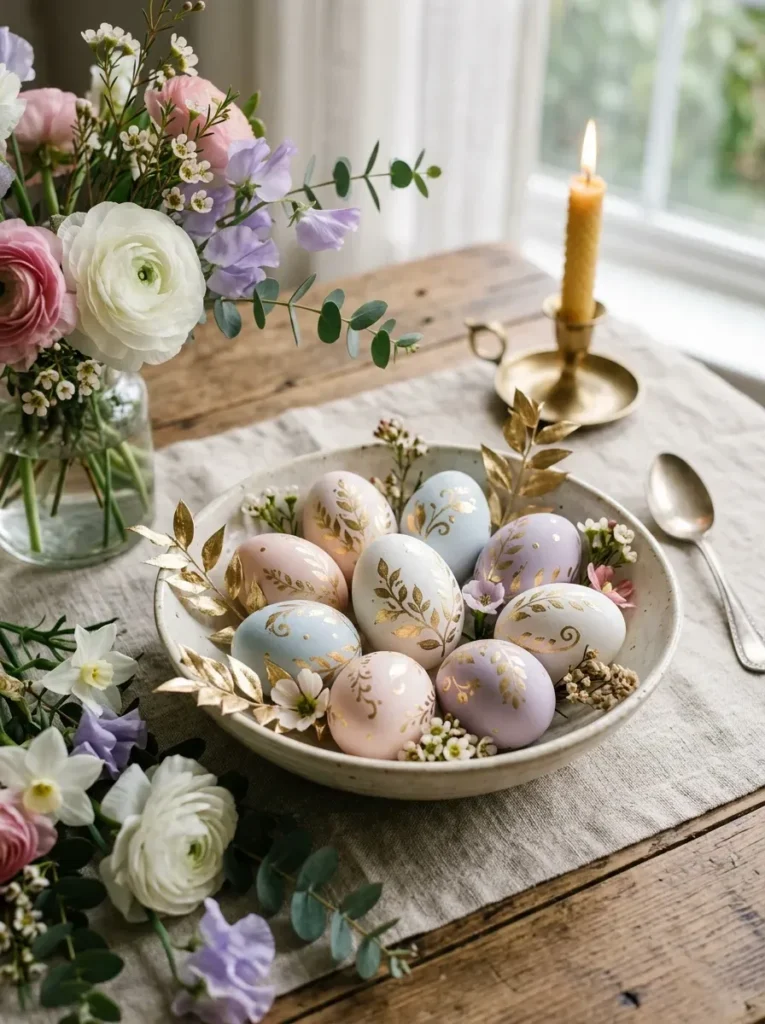
Paint your egg a deep solid color, then apply small pieces of gold leaf to one section using a bit of adhesive. The contrast between matte color and metallic gold looks elegant on a dinner table.
14. Hand Lettered Eggs
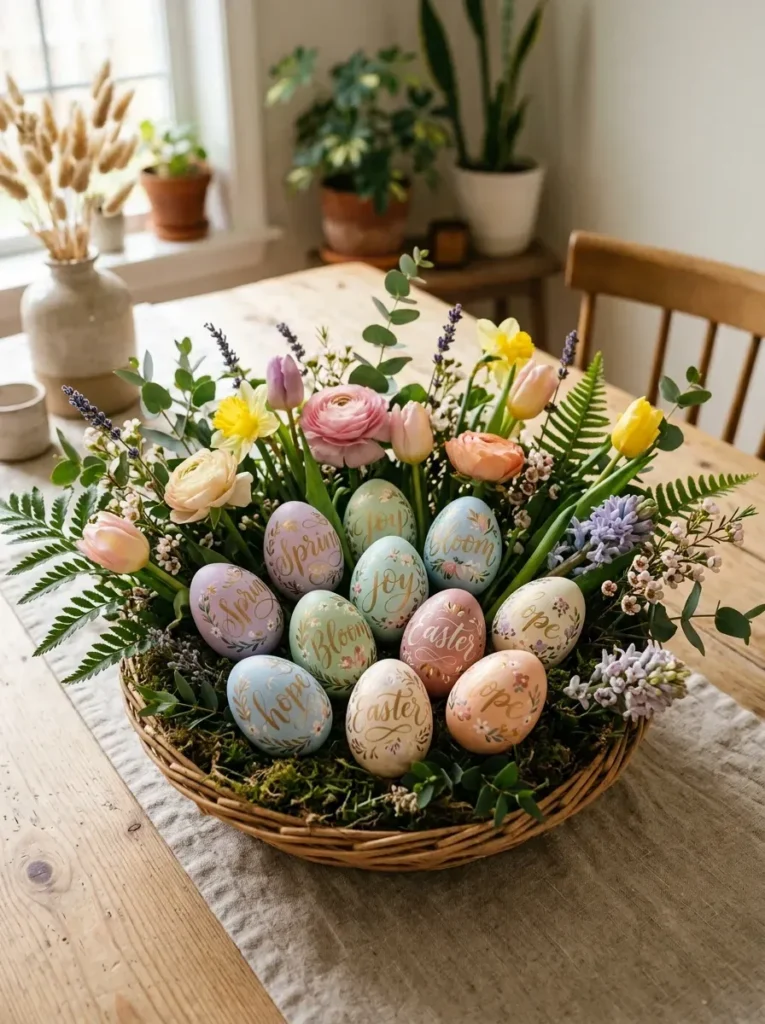
Use a fine tip paint pen to write small words, names, or simple phrases across the egg. This works well for place settings at an Easter brunch.
15. Mini Landscape Eggs
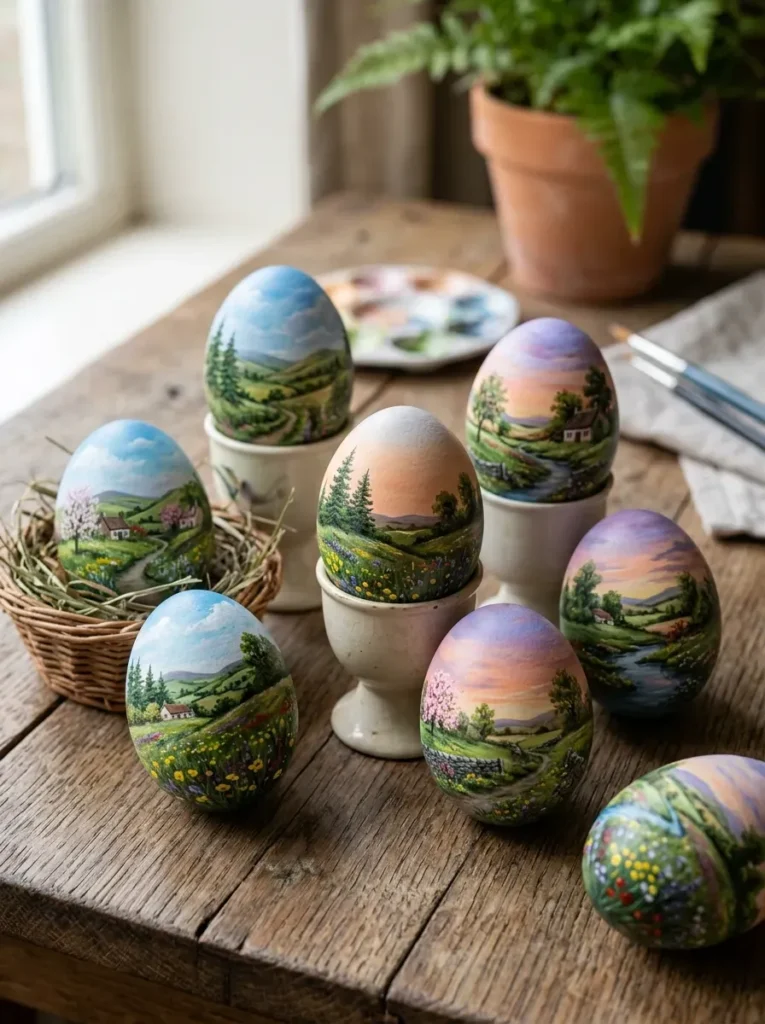
Paint a tiny scene across the egg, such as a hillside, a sunset, or a simple garden. It takes a bit more patience, but the final result feels like a piece of miniature art.
Textured and Tactile Ideas
Adding texture gives your eggs a bit more depth and makes them stand out in a basket full of plain ones.
16. Glitter Dipped Eggs
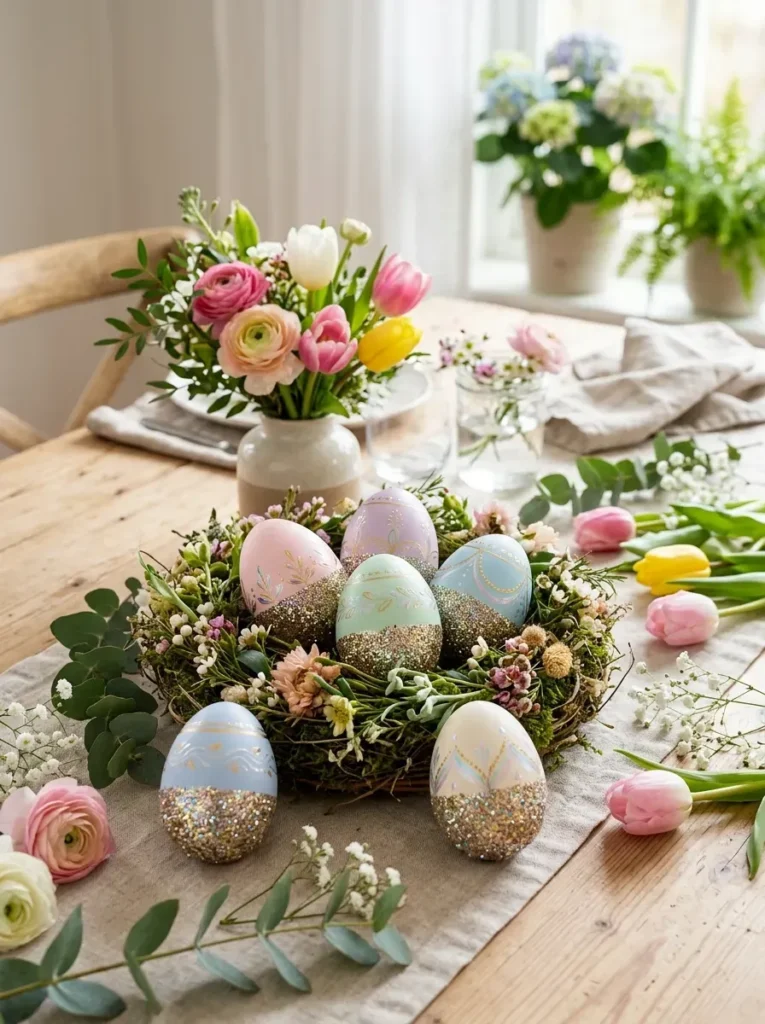
Coat the top half of a dyed egg with a thin layer of glue, then roll it in fine glitter. Let it dry standing up so the glitter settles evenly.
17. Sequin Covered Eggs
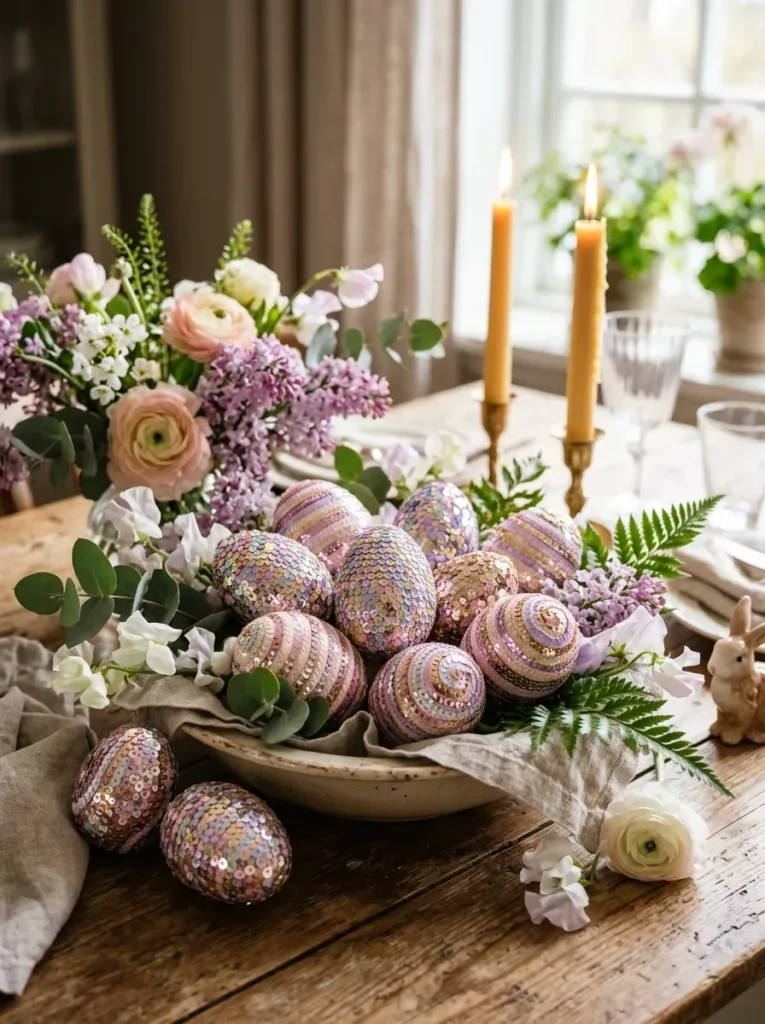
Use craft glue to attach small sequins in rows or patterns across the shell. This is a fun one for kids since there is no real wrong way to place them.
18. Yarn Wrapped Eggs
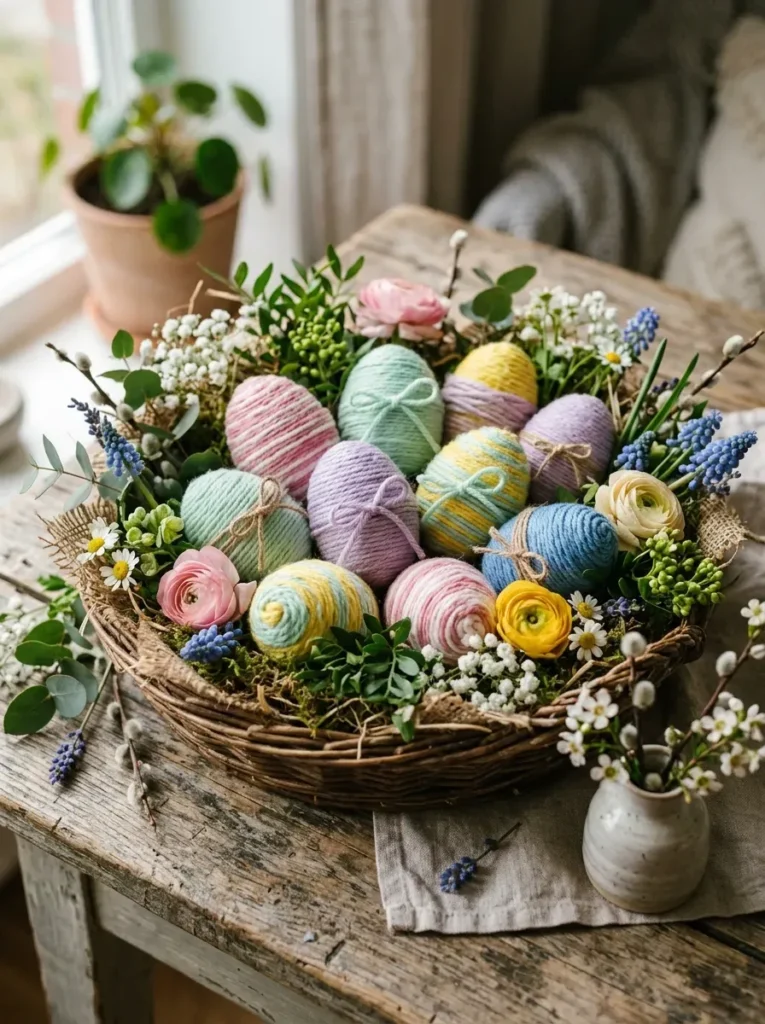
Wrap colorful yarn around a plastic or wooden egg base, securing the ends with a bit of glue. These make sturdy decorations that can be reused for years.
19. Lace Textured Eggs
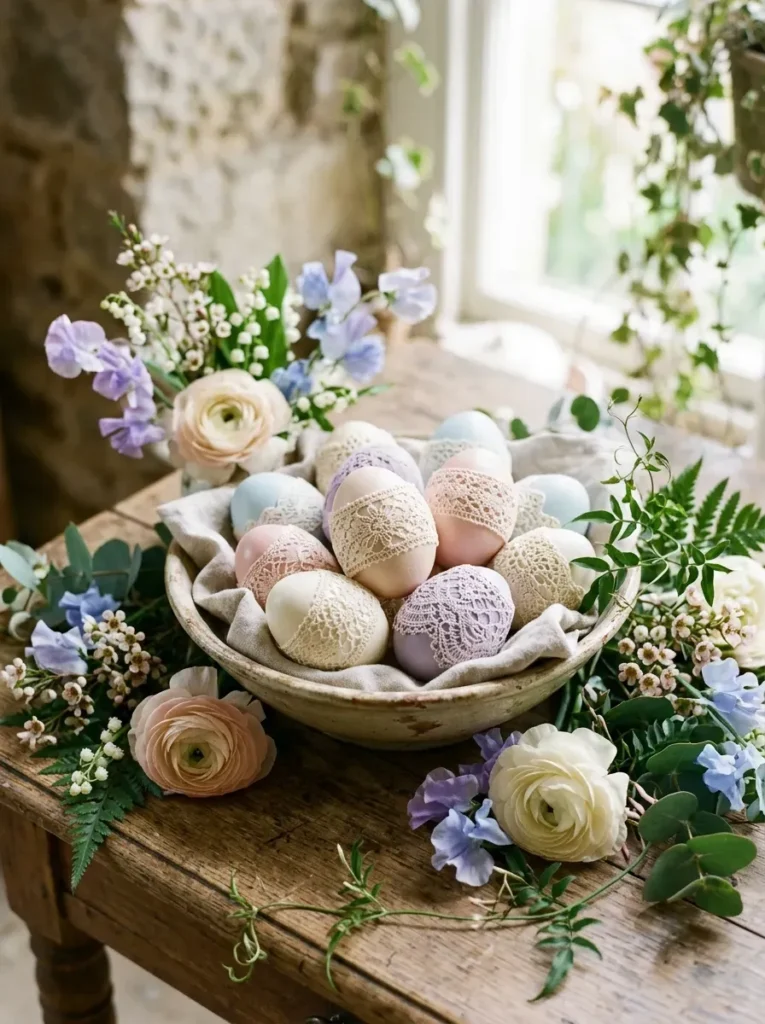
Wrap a small piece of lace around the egg before dyeing to leave behind a delicate, patterned texture once it is removed.
Tips for Getting the Best Results
A few small habits can make a big difference in how your eggs turn out.
- Let each layer dry fully before adding another design element on top
- Use white vinegar in your dye mixture to help colors stick better
- Work on a lined surface since dye and paint can stain quickly
- Try a few practice eggs before attempting a more detailed design
- Store finished eggs in a cool spot so the colors stay bright
Final Thoughts
Egg decorating does not have to follow one single method year after year. With so many textures, colors, and techniques to try, you can turn a simple afternoon into a creative outlet the whole family can take part in. Pick a few ideas from this list, gather your supplies, and give your Easter table something worth talking about this year.